
I love hearing from you!

If you ask a question in your comment, please make sure to either show your email in your blogger profile, or email me directly....this is the only way that I can answer you!

Friday, August 3, 2012

Clearly Inspired Challenge #57 (CIC57)


Happy Friday, crafty friends!  It's time for the first Clearly Inspired Challenge of the month!  Before we go there, I'm sure you want to know who the winners were for the month of July. . .well, we had a total of 50 participants over the month giving us a total of 4 winners!  Here they are at random:

Winners of the $10 gift code for digital images:


Winners of the July featured digi:


Thanks to all who played, and congratulations to our winners!  Please contact me, Cassie (cassandratrask@yahoo.com) by the end of the month to claim your prize :)

Challenge time!  How about we challenge to with:

Things with Wings

Let's see some projects that feature images that have wings. . .birds, insects, fairies, etc.  Just be creative!  Before you submit, please check out our challenge guidelines.

Here is what our August featured digi looks like:


Super cute, huh?!  Now let's see some inspiration from our talented DT:

Lori McCroskey -- featured digital image Hoot Hoots

Barb Gmitro-Best -- featured digital image Hoot Hoots

Linda Anderson -- featured digital image Hoot Hoots

Lisa Lara -- designer of our featured digital image Hoot Hoots

Jen Young -- featured digital image Hoot Hoots

Deonna Bemish -- featured digital image Hoot Hoots
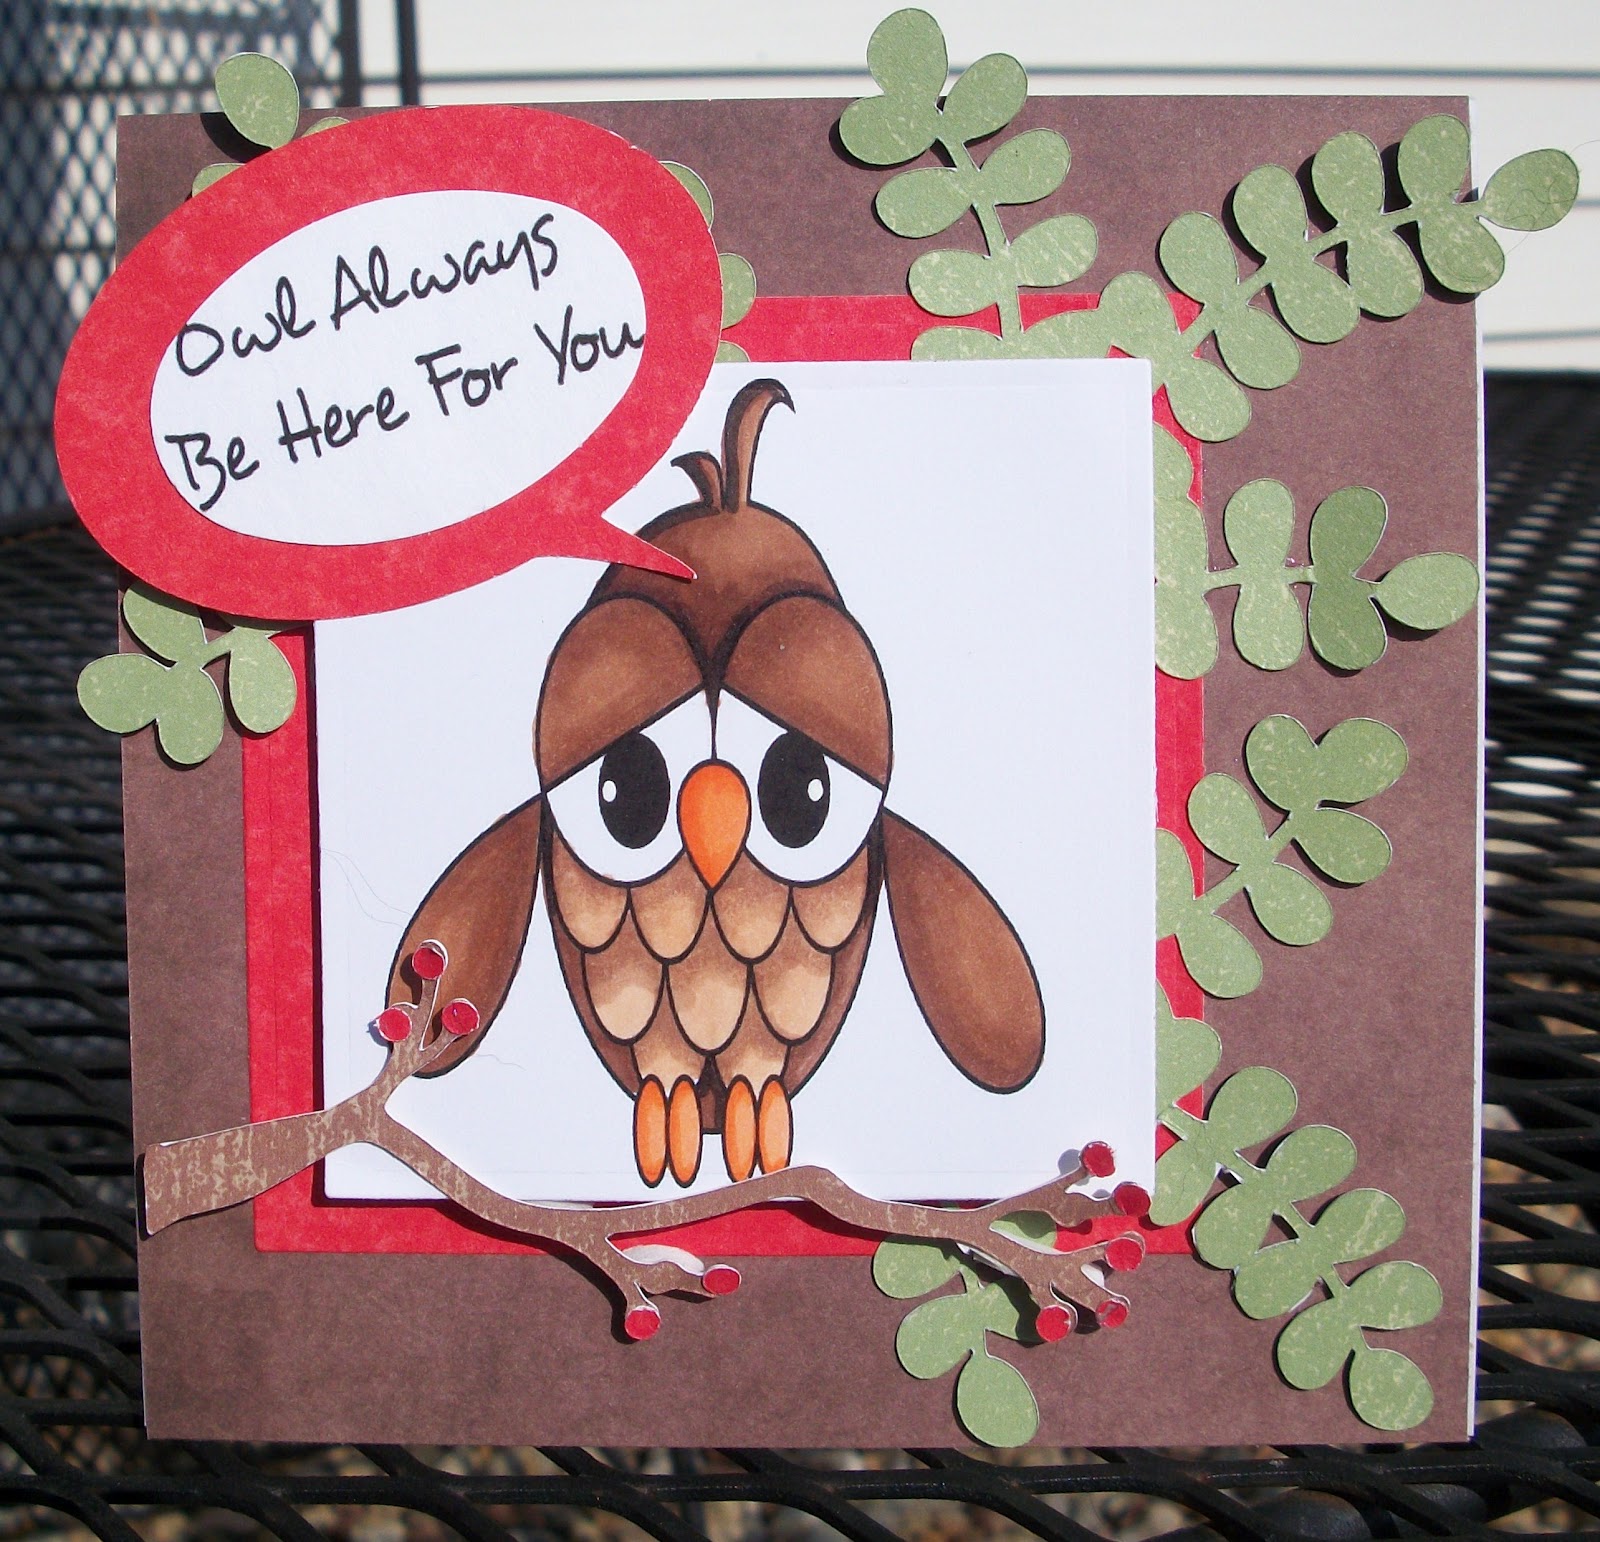
Vickie O'Dell -- featured digital image Hoot Hoots


Cassie Trask (me) -- featured digital image Hoot Hoots

Please link directly to your project using Mister Linky down below.  We also ask that you link back here to Clearly Inspired Challenge sponsored by Clear Dollar Stamps.  You have until Thursday, August 16th at midnight to enter this challenge to be eligible for the prizes at the end of the month.  Be as creative as you can while sticking to the theme.  Remember, only one entry per person, please :)
We can't wait to see what you come up with!


Tuesday, July 24, 2012

Christmas in July

Good Morning!
So are the kids driving you nuts being home all day? Are you running out of projects for them to do? Well, I happen to have a fun, easy and a little messy (only if you use glitter!) craft that you can do with the kids. The awesome part of this is they can be given as Homemade Christmas Gifts so you will be ahead of the game when December rolls around! These would make excellent gifts to give Teachers or Grandparents for Christmas gifts!!


Yep, homemade Christmas ornaments!! They are super duper easy and fun! All you need is Scor-Tape and stuff to decorate with. I told you it was easy! Did you know that Scor-Tape not only comes in rolls of different sizes but it also comes in sheets, 6 x 6 and 8 1/2 x 11?

Let me show you how I made the frosted ornament with snowflakes on it.

Step 1: Gather the punches of the shapes you want to use and a sheet of scor-tape I would not use punches that are too intricate as the small pieces seem to get messed up when taking off the backing.

Step 2: Punch out the shapes. Some punches will work better then others....older punches seem to have a bit of trouble so that gave me the excuse to buy new snowflake punches and they worked beautifully! I won't lie it does take a little bit more muscle then normal paper. I also learned it is easier if you leave the punch on the table to punch instead of doing it in your hands.
Step 3: Peel off the backing and place on ornament. I used a frosted ornament on this and liked it a lot. I bought a box of ornaments on sale at a hobby/craft store....they come in clear and frosted.


Step 4: Peel off the plastic to reveal the sticky. Hold the ornament over a tray or paper plate so it will catch any extra glitter. Dump glitter on the sticky pieces.

Step 5: Tap on the ornament to get any extra glitter to fall off....be careful not to hard as it is a GLASS ornament. Oh and a trick my friend Stephanie taught me....got to love friends that know all the secrets uses for things...get a dryer sheet and rub on ball. It will take off the extra loose glitter!
Here is a snowflake design on a clear ornament. It looked plain to me so I added some snow to the inside of the ornament.
Here I punched out circles of different sizes. Then I filled the inside of the ornament with the shiny shreds that can be put inside a gift bag when giving a gift.


Here are some others I did using different mediums to decorate with:
 
Jewel ornament - I made a design out of the 1/4 inch scor-tape. Covered it with jewels! Simple as that! I used colored ornaments for this (again just bought a box of red, white, green combo at a hobby/craft store)
Same design (used 1/8 inch scor-tape) but this time covered it with ribbon (my favorite...it looks store bought!)

I made another design with the scor-tape then covered it with glitter. I used 1/8 inch scor-tape, 1/4 inch scor-tape and 1/2 inch scor-tape

I found that if you want the scor-tape to go horizontal around the ornament then I would not use glitter as the scor-tape will not always lay flat... it depends on where you put it on the ball. It lays flat in the center but if you try to do three layers it get lumpy...see photo below. Also, I was not impressed with how the white glitter DID NOT show up well at all.

 If you do a horizontal design then I would use ribbon (thanks Stephanie for making this sample!)
To make this glitter ornament ball check out this awesome tutorial I found - Glitter Christmas Ornaments.

I hope you enjoyed learning how to use Scor-Tape to turn ordinary ornaments into beautiful ornaments....that are a lot cheaper than store bought! Plus it's an activity you can do with your kids!


Friday, July 20, 2012

Clearly Inspired Challenge #56 -- CIC56


Welcome, welcome to our first Clearly Inspired Challenge post over here on the new blog!  I hope you're as excited as I am to be here AND for a new challenge!  This week our challenge is:

Get Wet

We want you to use wet images, use wet look techniques or eve products that would give a wet look like acetate or a dimensional glaze.  Just get creative!  Before you submit, please check out our challenge guidelines.

Here is what our July Featured digi looks like:


Now here is some 'wet' inspiration from our super talented DT:

Deonna Bemish -- featured digital image Scoops

Vickie O'Dell -- Splash digital image


Jen Young -- Everyday Jargon digital image


Lisa Lara -- creator of our featured digi Scoops

Cassie Trask (me) -- featured digital image Scoops

Please link directly to your project using Mister Linky down below.  We also ask that you link back here to Clearly Inspired Challenge sponsored by Clear Dollar Stamps.  You have until Thursday, August 2nd at midnight to enter this challenge to be eligible for the prizes at the end of the month.  Be as creative as you can while sticking to the theme.  Remember, only one entry per person, please :)
We can't wait to see what you come up with!


Thursday, July 19, 2012

How to recolor your digis by Diane Noble


Hello Everyone!

We have a very talented guest tutorial writer with us today, Diane Noble!  Diane has put together this wonderful tutorial that will teach you how to recolor your digis!  I have been very excited to use this in my own cardmaking and I am sure you will love having this knowledge too!


Diane has created the following three cards using the newly released digis Tag Blessings and Thoughtful Notes.  These cards turned out just beautiful!


Diane is going to show you how to recolor your images in Microsoft Word and in Publisher.

Recoloring Digital Images
(using Microsoft Word 2010)

1.      Copy and paste images from your purchased file.  Use either JPEG or PNG files. Size them by pulling or pushing the corner handles.  (See Deedee Anderson’s tutorial, Digis 101 posted on June 26, 2012).  Note: To move images around in Word, you have to click the image, then go to the tool bar and pull down the menu under “Wrap Text.” Choose “through” and you will be able to move the images anywhere on the page.


2.      To begin recoloring, double click the first image you want to recolor. This will open the Picture Tool tab and bars. Click on the “Color” icon on the left of tool bar (see arrows below).


3. 


When you click on the “Color” icon, a drop-down menu will appear.  Select your colors from the third row under “Recolor.”  This immediately changes the color of all the solid portions of your image.  Repeat to change color of other images, then copy and paste recolored images to get the number needed of each size and each color.  Remember you can change sentiments so they coordinate with the colors of your images.

 
4. 

Continue copying/pasting/sizing/recoloring to fill the page with desired images for one or more projects. I wanted to use images from Tag Blessings and Silhouette Thoughts, so both appear on the page for this tutorial.


5.      When you have the number of images you want to use, you can arrange them before you print to conserve paper.  Leave space around images where you may want to use dies, like on the sentiment.  If you are going to free-hand cut out images, they can be placed closer together. You can leave the images as they are now, or you can proceed and have a little more fun cropping your digis.


6. 


Notice in the step above, that two identical sized images from Tag Blessings (bird/text) have been recolored.  We will go through a series of cropping steps to combine two colors on one image! Select the first image to crop (blue bird/text circle tag in lower left corner of page). Use the crop tool in the upper right corner of the tool bar. (Highlighted in yellow below.)  This will create the cropping handles on your image.  Push in to crop off the unwanted portion. 


7.   


I cropped off the bottom, or text, of the blue bird image, and cropped off the top of the green bird image.  See the two images in the lower left corner of the page. 


8.      Now move the two cropped images into alignment and “group” the images.  You can now copy as many images as you need and arrange them all on your page to conserve paper. 


9.      I also copied and recolored two sentiments, cropped them and rejoined them to create a two-colored sentiment.  Now, I’m ready to cut out, die cut, or punch the images/sentiments to make my projects. 


Recoloring Digital Images
(using Microsoft Publisher 2010)

Microsoft Publisher is a word document program but it works with a graphics base.  You have to insert text boxes that act as images instead of just typing on the page to embed text.  But because it is a graphics based program it handles digital images with much more flexibility and ease than does Microsoft Word.  When you copy/paste your initial images, they will immediately float on the page—you can move them anywhere by just clicking and dragging.  Publisher has a decided advantage over MS Word in the scope of colors available with virtually endless possibilities. Working with the images will be very similar as far as mechanics.
1.   


Copy and paste your images to a Publisher page.  To speed this portion up I’ll show the recoloring all at once instead of in steps as before.


2.   


To recolor click on an image.  The picture Tools tab will appear and you will pull down the menu from the Recolor icon on the left side of the tool bar.  From here you will immediately have a huge array of color options.  Select the color you want, apply and save and you’re finished!


3.   


Here’s the window that open to select your colors. There will be another drop down menu on the Color bar.  Once you open that you’ll see the color palette. 


4.      The colors just pop with Publisher.  Publisher is a very versatile program and can make newsletters, brochures, letterheads and all types of graphics rich documents.  Here all the images are copied and recolored once. The cropping function to achieve two colors on one image is basically the same.


5.      To crop, click on the image and go to the crop icon in the upper right hand portion of the tool bar. It’s highlighted in yellow in the screen shot below. Once you click it cropping handles will appear just as they did in MS Word, and you continue to crop as before.


6.      Here’s the finished recolored and cropped worksheet done in Publisher.  It’s ready to print.


The advantages and challenges with each program are dependent on user comfort.  Most people are more familiar with Microsoft Word, but Publisher is easy to learn.

Images can also be recolored in other photo editing programs.  When recoloring images, give the creator of the image full credit for the design.  Occasionally artist will stipulate that their images are not to be reconfigured or manipulated.  Adhere to any stated limitations by the creator, particularly if you plan to publish pictures of projects with the recolored or cropped image.  It is a violation of the intellectual copyright laws of the original artist to manipulate their designs then claim any credit as your own original creation. 

Most artists are delighted to see their images used and enjoyed.  They get excited to see the versatility someone has achieved with their images.   Playing with recoloring just takes a little practice.  Most printers will print at a high enough color quality on the regular print settings, but experiment with your printer.  You may have to change the setting to a higher quality to achieve the look you want. 

Thank you Diane for sharing this wonderful tutorial with us!  What a blessing!


I hope your day is filled with stamping and blessings galore!

